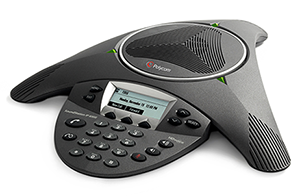
Simtex Cloud PBX handsets are remotely provisioned and upgraded remotely from our system, although from time to time manual upgrades are required.
This guide runs though the steps to manually upgrade and provision your Polycom hardware.
Factory Reset Phone
1. Press the Menu Key and select Settings, then Advanced

2. Enter the password
- If the phone was previously used with Simtex, the password is ‘simtexadmin’
- If the phone has not been provisioned the default password is ‘456’
To enter a numeric password, simply dial the digits

To enter an alpha character, first press the ‘1/A/a’ key to swap to alpha mode
to enter ‘simtexadmin’ you would press:
7777, 444, 6, 8, 33, 99, 2, 3, 6 444, 66

3. Select Admin Settings

4. Select Reset To Factory, then Reset to Defaults

5. Confirm and reboot

Enable ZTP (Zero Touch Provisioning)
1. Press the Menu Key and select Settings, then Advanced

2. Enter the password
- If the phone was previously used with Simtex, the password is ‘simtexadmin’
- If the phone has not been provisioned the default password is ‘456’
To enter a numeric password, simply dial the digits

To enter an alpha character, first press the ‘1/A/a’ key to swap to alpha mode
to enter ‘simtexadmin’ you would press:
7777, 444, 6, 8, 33, 99, 2, 3, 6 444, 66

3. Select Admin Settings

4. Select Network Config

5. Select Provisioning Server

5. Move down to ZTP

5. Enable ZTP, press OK

6. Press the EXIT ‘arrow’ button twice, and Save Config

7. The phone will automatically reboot then configure itself after multiple reboots (2-4)
Manual Firmware Upgrade
1. Press the Menu Key and select Status

2. Select Network

3. Select TCP/IP Parameters

4. Select Network Config

5. Jot down the IP address following IP:
In our case, the address was 10.9.4.100

6. Open up a web browser on your PC and enter the IP address following https://
https://x.x.x.x
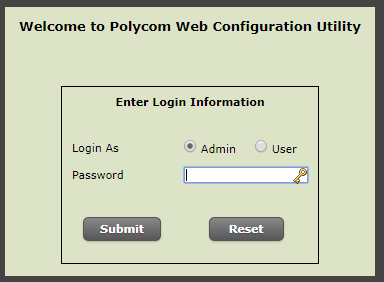
7. Enter the device password
This is usually 456. If provisioned from Simtex, use ‘simtexadmin’
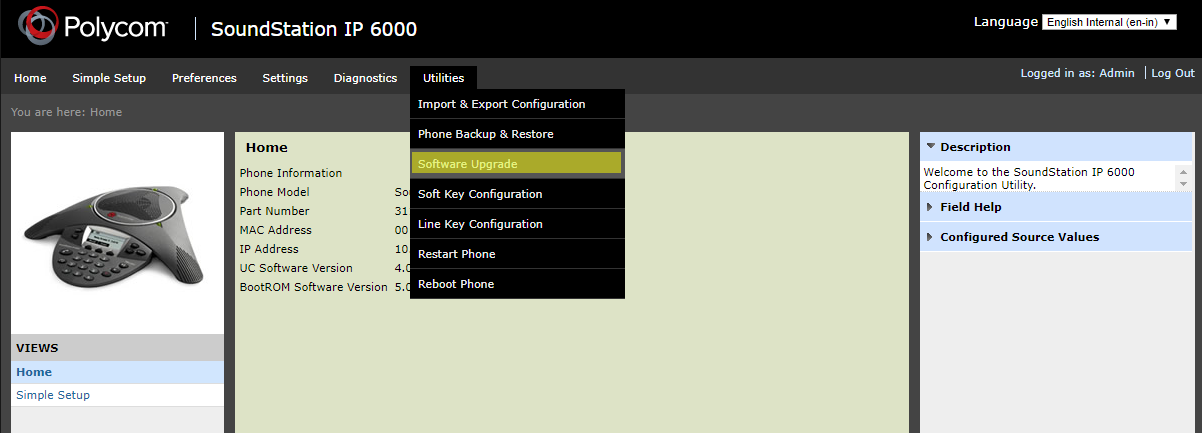
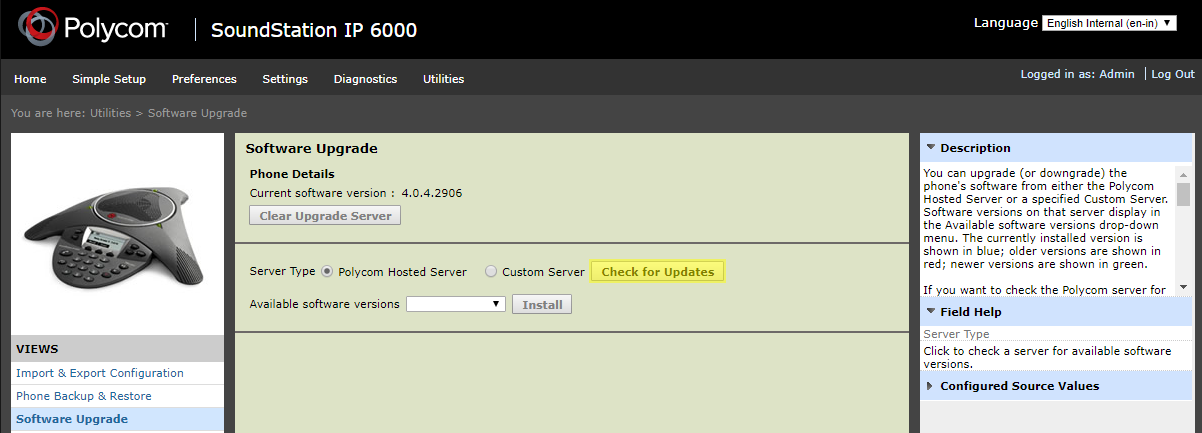
8. In the Utilities menu, select Software Upgrade
9. Click Check for Updates
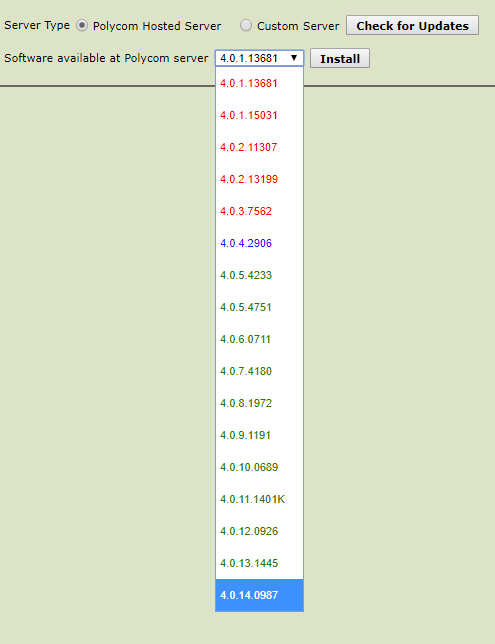
10. In the drop-down list, select the latest version (highest number)
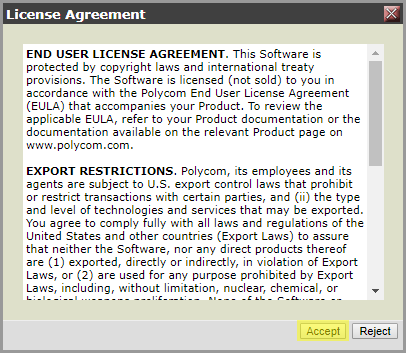
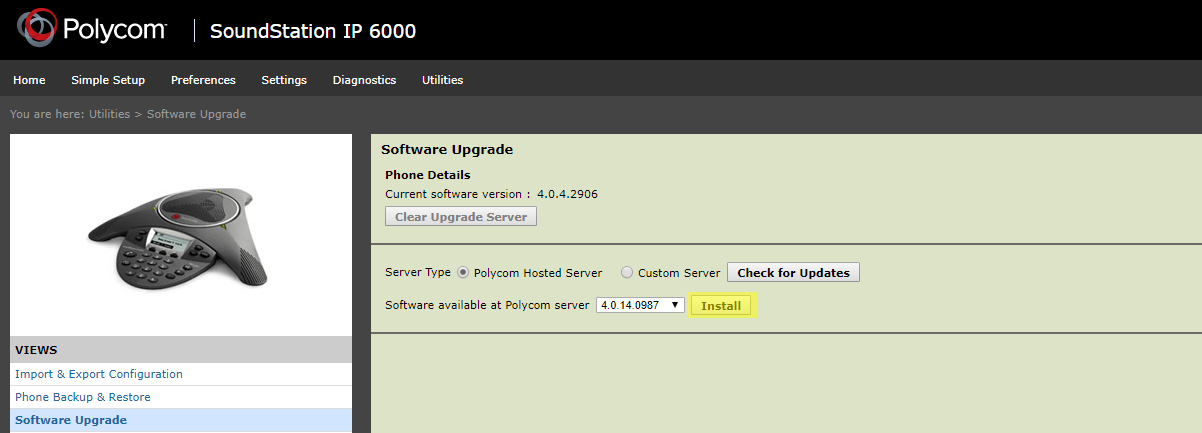
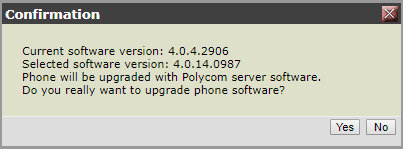
11. Click Install, Yes, and Accept
