This is a step-by-step procedure to configure CounterPath Bria products for use with Simtex Cloud PBX services.
Bria is a powerful softphone, packaged with both mobile and desktop clients.
Bria-Teams is slightly more expensive but allows you to have multiple Bria subscriptions under the single bill.
Note – CounterPath subscription charges are in USD.
Getting Started
Our guide assumes you have already purchased a Bria Teams subscription.
Sign up for a free month trial here: Bria-Teams
With a variety of business grade pay-as-you-go or unlimited options, we’ll have you saving money in no time. Click here for more info…
Voice Servers and Services
- Head to CounterPath click Login and select Bria Solo or Bria Teams depending on your subscription
- Once logged in, click on Voice and Video up the top
- Select Add Voice Configuration

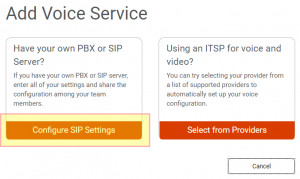
- Select Configure SIP Settings
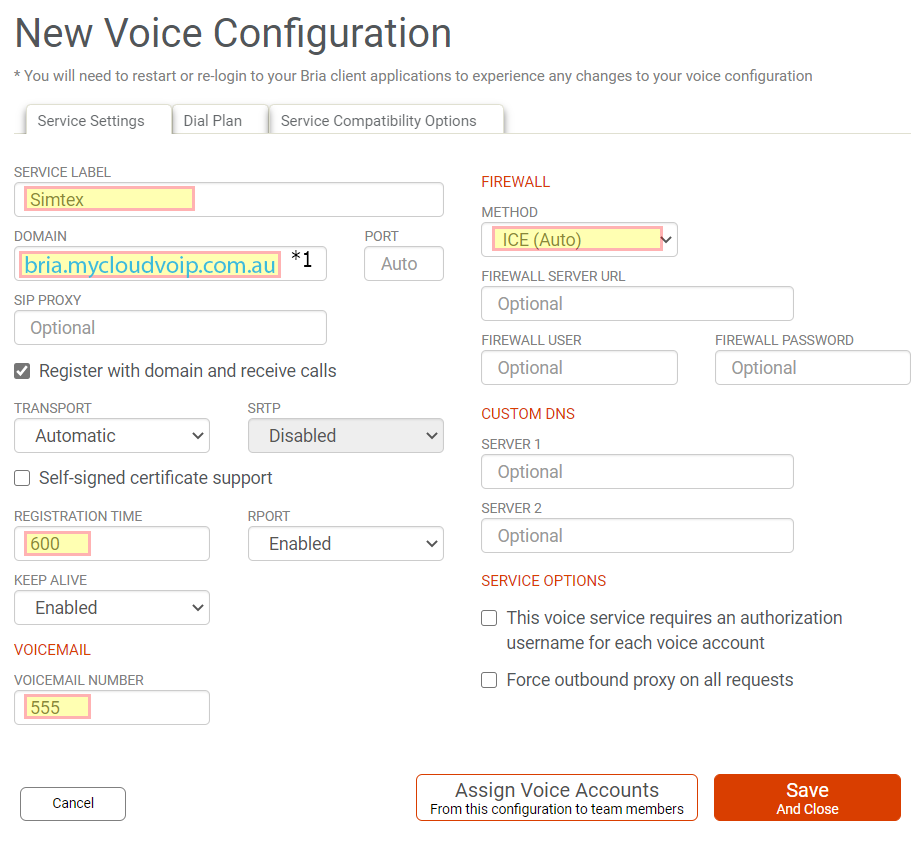
- Under the Service Settings tab, enter the following parameters…
-
- Service Label: Simtex or other identifying name you wish to use
- Domain:
WA, SA & NT
bria.mycloudvoip.com.au
All other states
bria.mycloudvoip.com.au
- Registration Time: 600
- Voicemail Number: 555
- Firewall Method: ICE (Auto)
-
- Under the Dial Plan tab, enter the following…
Perth - WA
+61xxxxxxxxx|+x.T|[9,6]xxxxxxx|0xxxxxxxxx|1800xxxxxx|1300xxxxxx|13[1-9]xxx|0011x.T|[234]xx|5xx];match=1;prestrip=3;pre=0;match=2;prestrip=1;pre=0011;match=3;prestrip=0;pre=08;
Melbourne - VIC
+61xxxxxxxxx|+x.T|[7,8,9]xxxxxxx|0xxxxxxxxx|1800xxxxxx|1300xxxxxx|13[1-9]xxx|0011x.T|[234]xx|5xx];match=1;prestrip=3;pre=0;match=2;prestrip=1;pre=0011;match=3;prestrip=0;pre=03;
Sydney - NSW
+61xxxxxxxxx|+x.T|[7,8,9]xxxxxxx|0xxxxxxxxx|1800xxxxxx|1300xxxxxx|13[1-9]xxx|0011x.T|[234]xx|5xx];match=1;prestrip=3;pre=0;match=2;prestrip=1;pre=0011;match=3;prestrip=0;pre=02;
Brisbane- QLD
+61xxxxxxxxx|+x.T|[3,4,5]xxxxxxx|0xxxxxxxxx|1800xxxxxx|1300xxxxxx|13[1-9]xxx|0011x.T|[234]xx|5xx];match=1;prestrip=3;pre=0;match=2;prestrip=1;pre=0011;match=3;prestrip=0;pre=07;
Adelaide - SA
+61xxxxxxxxx|+x.T|[7,8][0,1,2,3,4]xxxxxx|0xxxxxxxxx|1800xxxxxx|1300xxxxxx|13[1-9]xxx|0011x.T|[234]xx|5xx];match=1;prestrip=3;pre=0;match=2;prestrip=1;pre=0011;match=3;prestrip=0;pre=08;
Hobart- TAS
+61xxxxxxxxx|+x.T|[6]xxxxxxx|0xxxxxxxxx|1800xxxxxx|1300xxxxxx|13[1-9]xxx|0011x.T|[234]xx|5xx];match=1;prestrip=3;pre=0;match=2;prestrip=1;pre=0011;match=3;prestrip=0;pre=03;
- Under the Service Compatibility Options tab, leave everything as per default
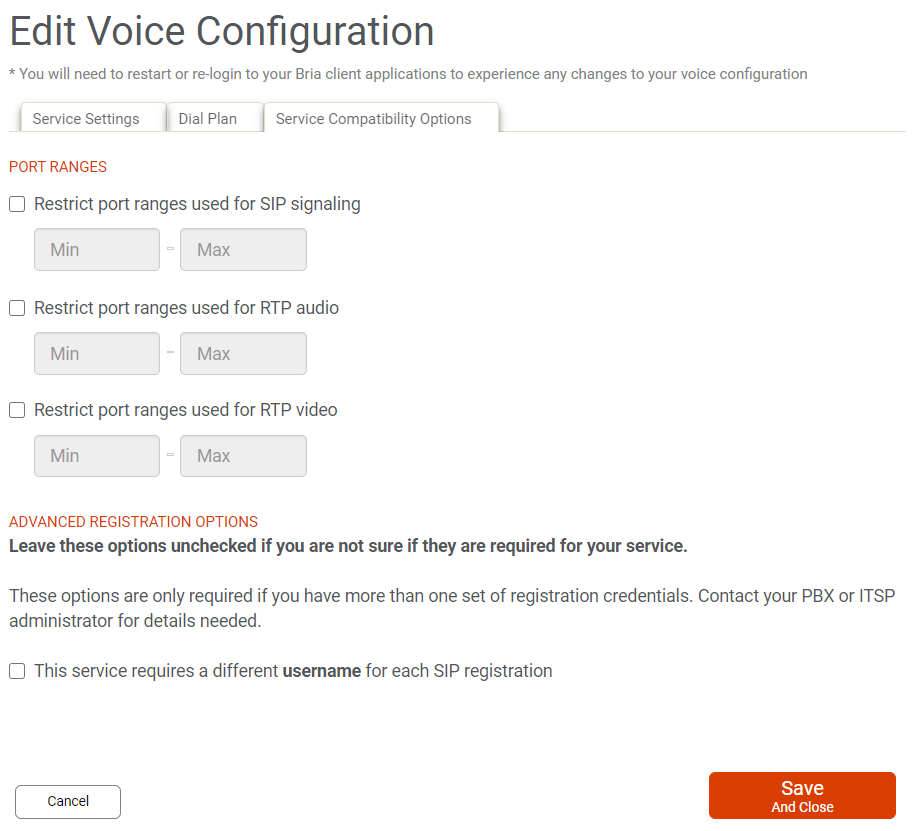
- Click Save and Close
Adding Users
Every user must have their own Simtex Cloud PBX extension or account number. These can only be shared on various devices used by a single person.
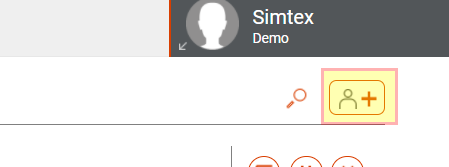
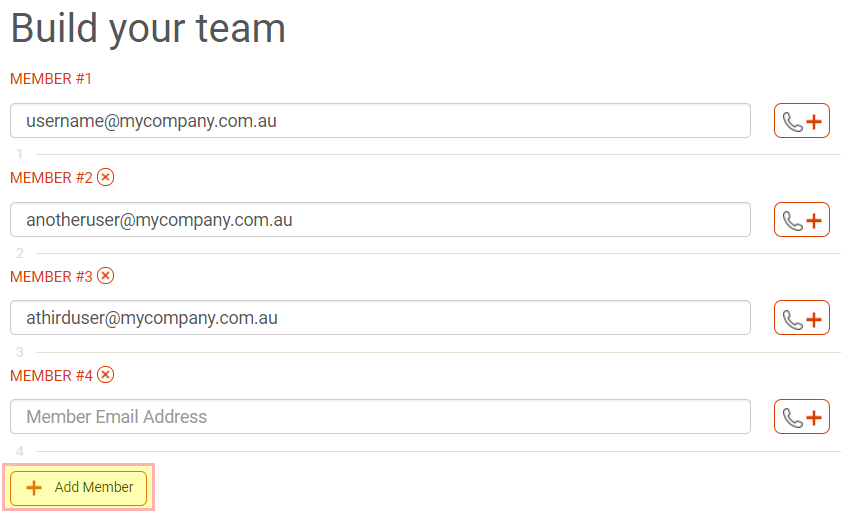
- Click the Add new team member button on the top right
- Enter the e-mail address for each user you wish to add, clicking Add Member for each additional user
Configuring VoIP Accounts
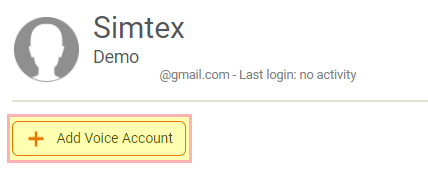
- Select a user which you’d like to assign a Simtex VoIP account to

- Click Add Voice Account
- Enter the SIP Username (7xxxxxxx or 214xxxxxxx) and SIP Password
Login details for each Cloud PBX extension can be found in our MyCloudVoIP Portal
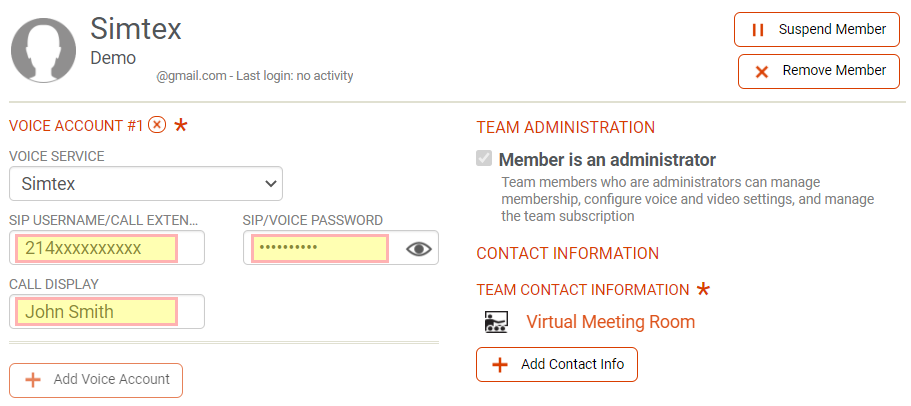
- Enter the user Full Name or name as required
Codec and Other
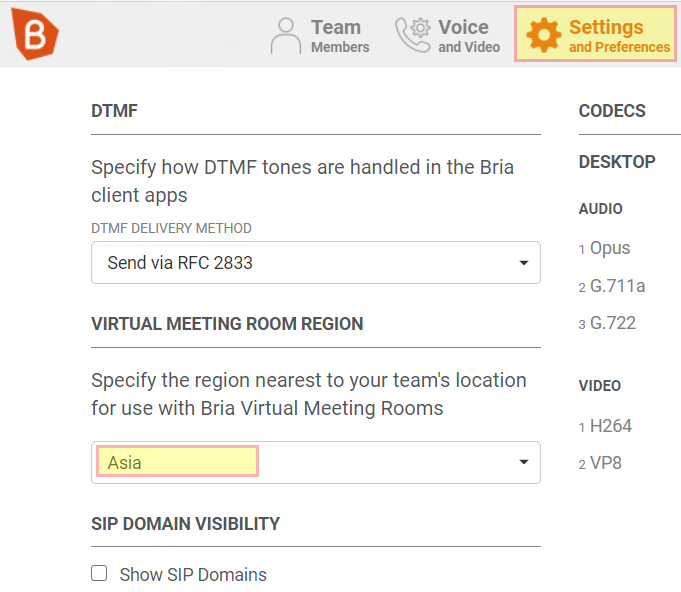
- Click Settings and Preferences along the top
- Adjust the Virtual Meeting Room region to Asia
- Click on the cog next to CODECS
- Untick options and drag order to select the following for Desktop, Mobile and Wifi:
- Opus
- G.711a
- G.722
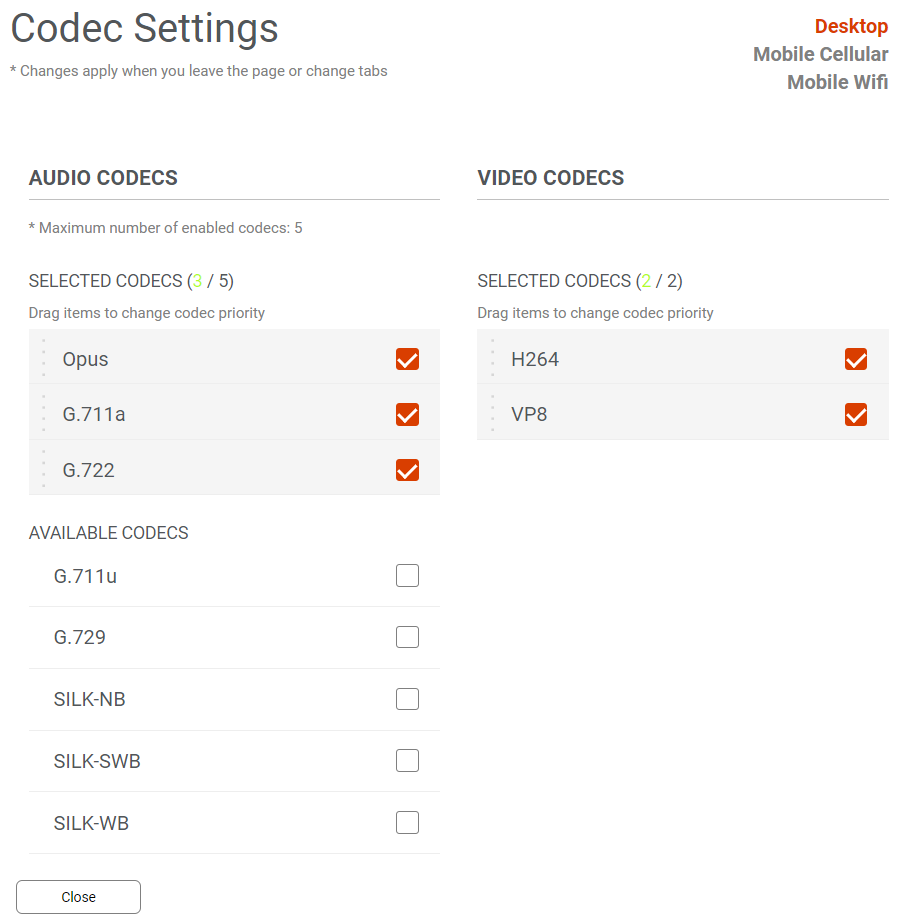
- Click Close
Using Apps
Download Bria for Windows, Mac, iOS and Android here
Each user logs into Bria with the email address and password setup earlier. The Bria platform automatically passes the Simtex username/password as well as other configuration items to the Bria software. No other configuration is needed for the Bria software.
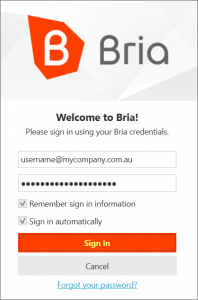
You can login to multiple apps or devices simultaneously, ie desktop, and iOS. Please contact Simtex Support to ensure you have multiple device support enabled.
